Paul Zammit demonstrates how to pot up savoury herbs for a miniature culinary garden.
1.Select the right container
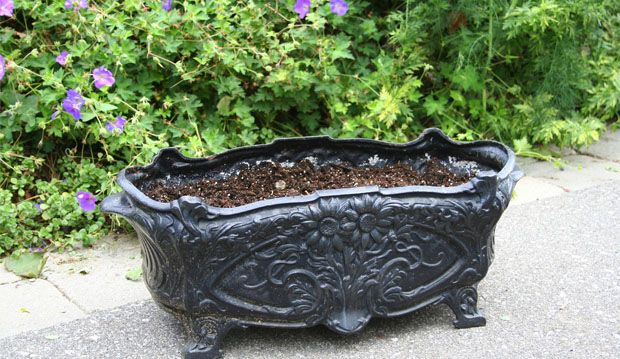
Plants need ample space to develop a deep root system, so make sure the container is deep enough and large enough to accommodate the roots as the plant matures. Containers can be made of anything from terra cotta to plastic recycling bins. The one we’ve chosen is a heavy vintage wrought iron, which has a classic look and holds the heat many Mediterranean herbs like. The pot must have drainage holes. To discourage slugs and snails from moving inside where they hide during the day and emerge at night to feed on the plants, the trick is to cover large drainage holes with a piece of fine mesh.
2. Add potting soil
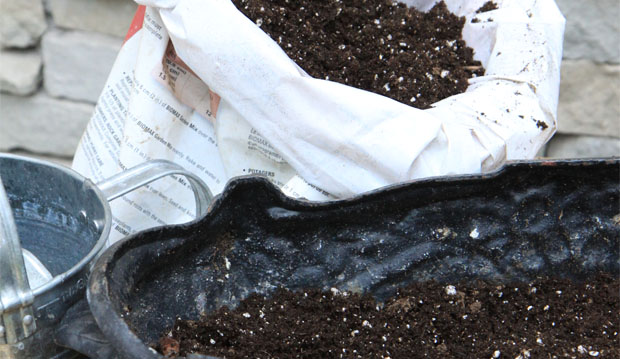
Fill the container with freshly bought, porous potting soil to which you can add up to one-third of well-aged manure or compost.
3. Prepare the plants
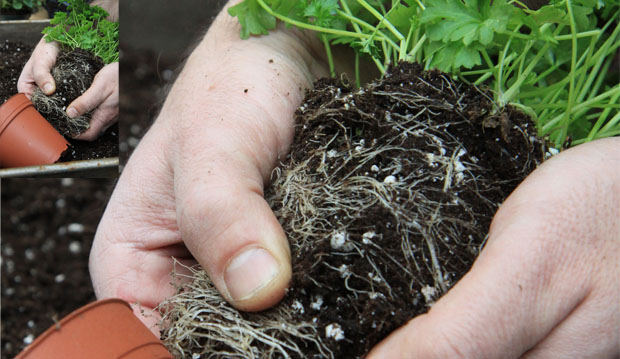
Before transplanting the herbs, water them well while they’re in their original pots. Then, gently remove the plants and tease out and loosen the root system so they’ll grow into the soil of the larger container.
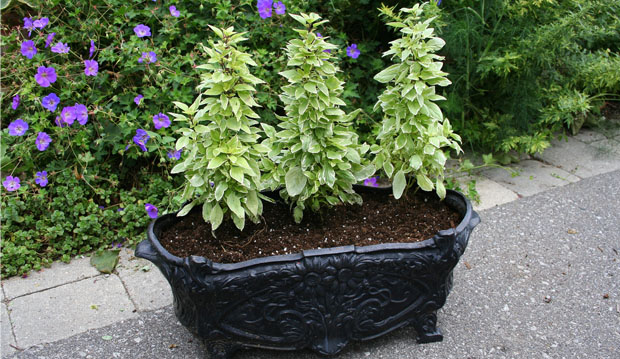
4. Start with tall plants
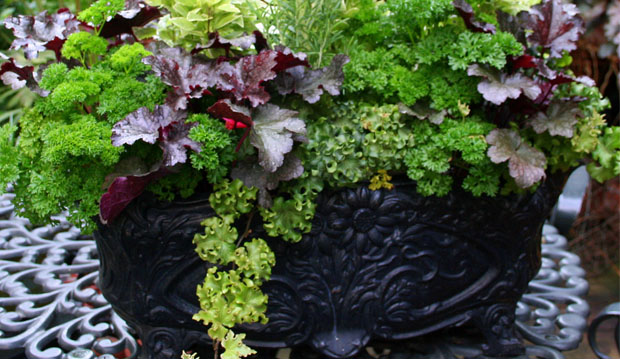
This low rectangular planter will be viewed from the front, so the taller herbs – we’ve used three ‘Perpetual Pesto’ basil plants – should be placed at the back. The variegated foliage of this basil is extremely fragrant and hard to resist. Unlike other basils, ‘Perpetual Pesto’ produces fresh new growth all season. When planting, firmly pack enough potting soil around the roots to cover and eliminate any large air pockets.
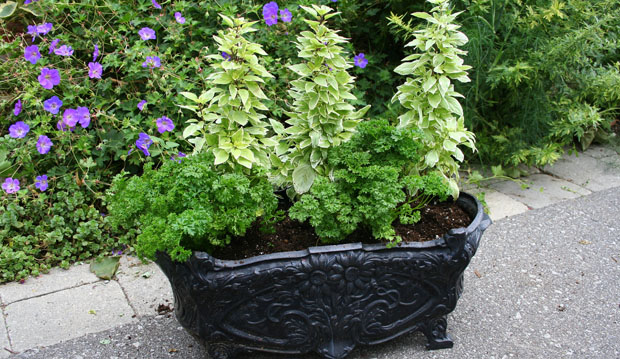
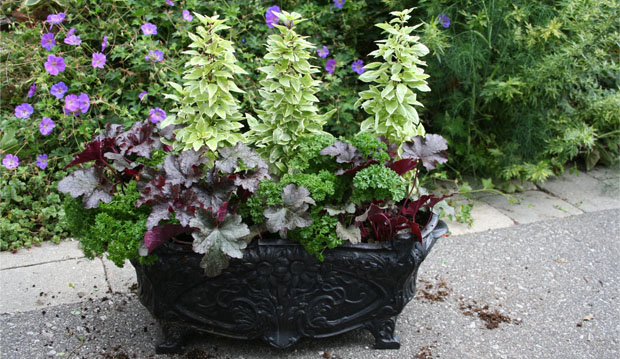
5. Have fun – mix it up!
Add two curly parsley plants in front of the basil, setting them slightly off-centre. Then, place three ornamental perennial coral bells specimens, which are not edible, but add contrasting foliage texture and colour. (You can also substitute a golden or purple sage for the coral bells.) Finish off with three specimens of the non-edible Hedera helix ‘Pink ’n’ Curly’ ivy as a trailing accent or else with lemon thyme.
6. Add finishing touches
Water the completed planting and top up the potting mix if necessary, allowing for about 2.5 centimetres (1 inch) of space between the soil surface and the lip of the container. This ensures water will soak into the soil instead of running off over the sides of the planter. For large containers such as this one, apply a layer of cedar mulch, about 2.5-centimetres (1-inch) deep onto the soil surface to help conserve moisture and keep the roots cool during summer heat.
7. Tend with care
Monitor daily and water thoroughly when the soil, at about a thumb’s depth, becomes dry. Herbs in containers require regular feeding with a water-soluble organic fertilizer, such as liquid kelp or fish emulsion, applied at the recommended rates. Slow-release, granular fertilizers may also be used.
Zammit’s tips
- While many herbs are well known for their fragrant foliage, others offer a wide range of colour, texture and leaf forms. Try mixing golden oregano and variegated thymes and sages.
- Pinch back herbs frequently throughout the growing season to keep them producing new shoots. If plants become long and straggly, shear them back to promote new growth. Dry or freeze the clippings for future use.
- Add edible flowers to your containers: calendula, violas, pansies, nasturtiums and dianthus are good choices.
- Some herbs, such as rosemary, parsley, sage, thyme, oregano and lavender, are cold-tolerant which ensures a continuing fragrant and delicious fresh harvest well into late fall.

